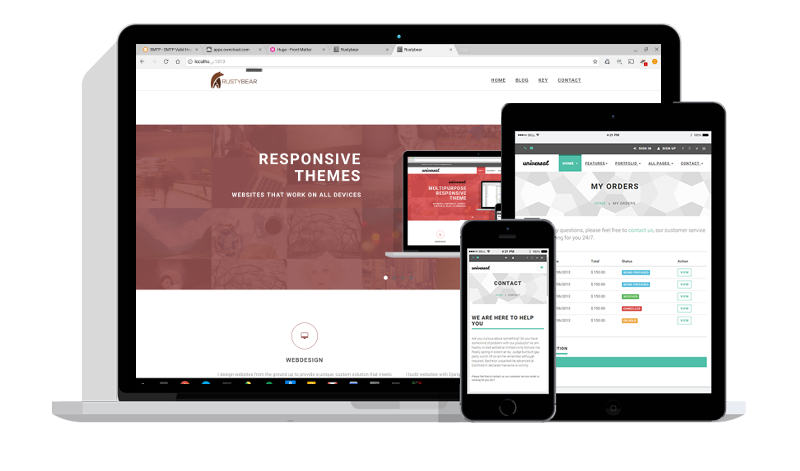
Responsive themes
Websites that work on all devices
Advanced, Modern Features
- Sliders and carousels
- Social media sharing
- Google maps, forms, animations
- Data analytics
- ... and much more
Template Based Websites
- Fast to deploy
- Clean and elegant design
- Readable fonts and awesome icons
- Countless color variations
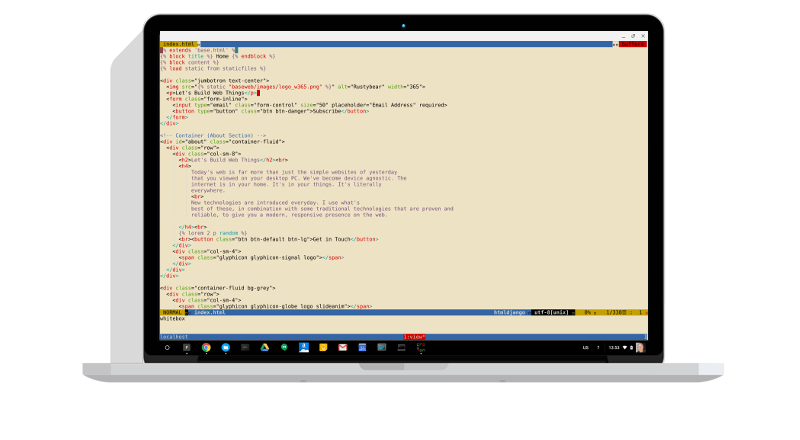
Customized Websites
- Made from scratch Django websites
- Your design and your data
Copyright (c) 2016 - Rustybear - all rights reserved.